Help Topics
Getting Started & Interface Presets
Open the map without an account, organize your workspace into Trips and Cities, and choose how many tools appear in your interface.
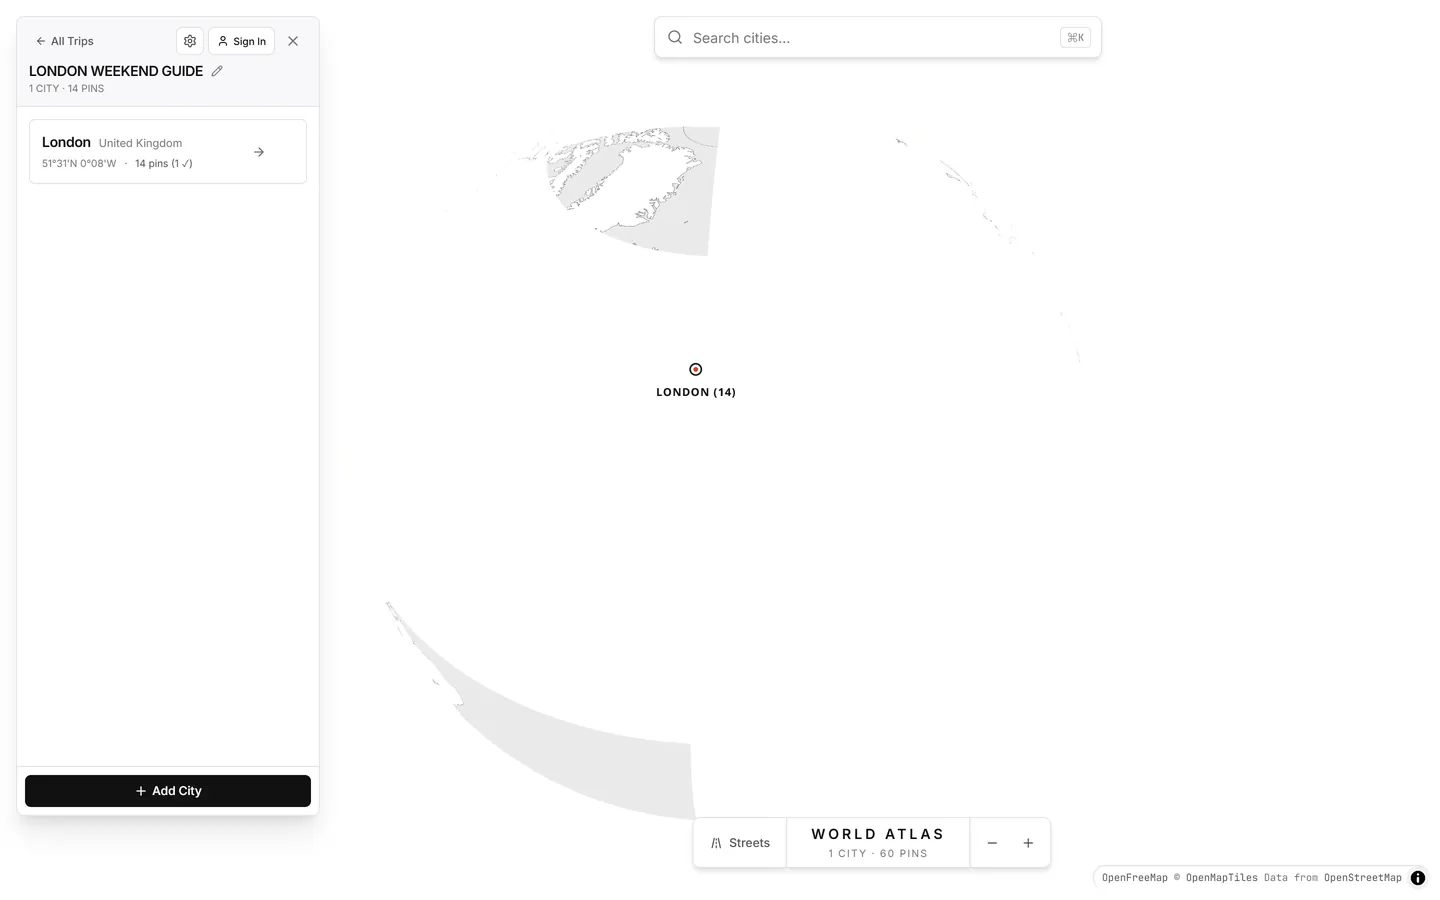
1. Guest Mode & the 3D Globe
Clicking Start Planning opens the 3D Globe. All changes—new trips, cities, pins, categories, and notes—save automatically to your browser's local storage. If you later sign in with Google or email, you can upload your local workspace to the cloud in one click.
2. Switching Interface Presets (Simple, Planner, All)
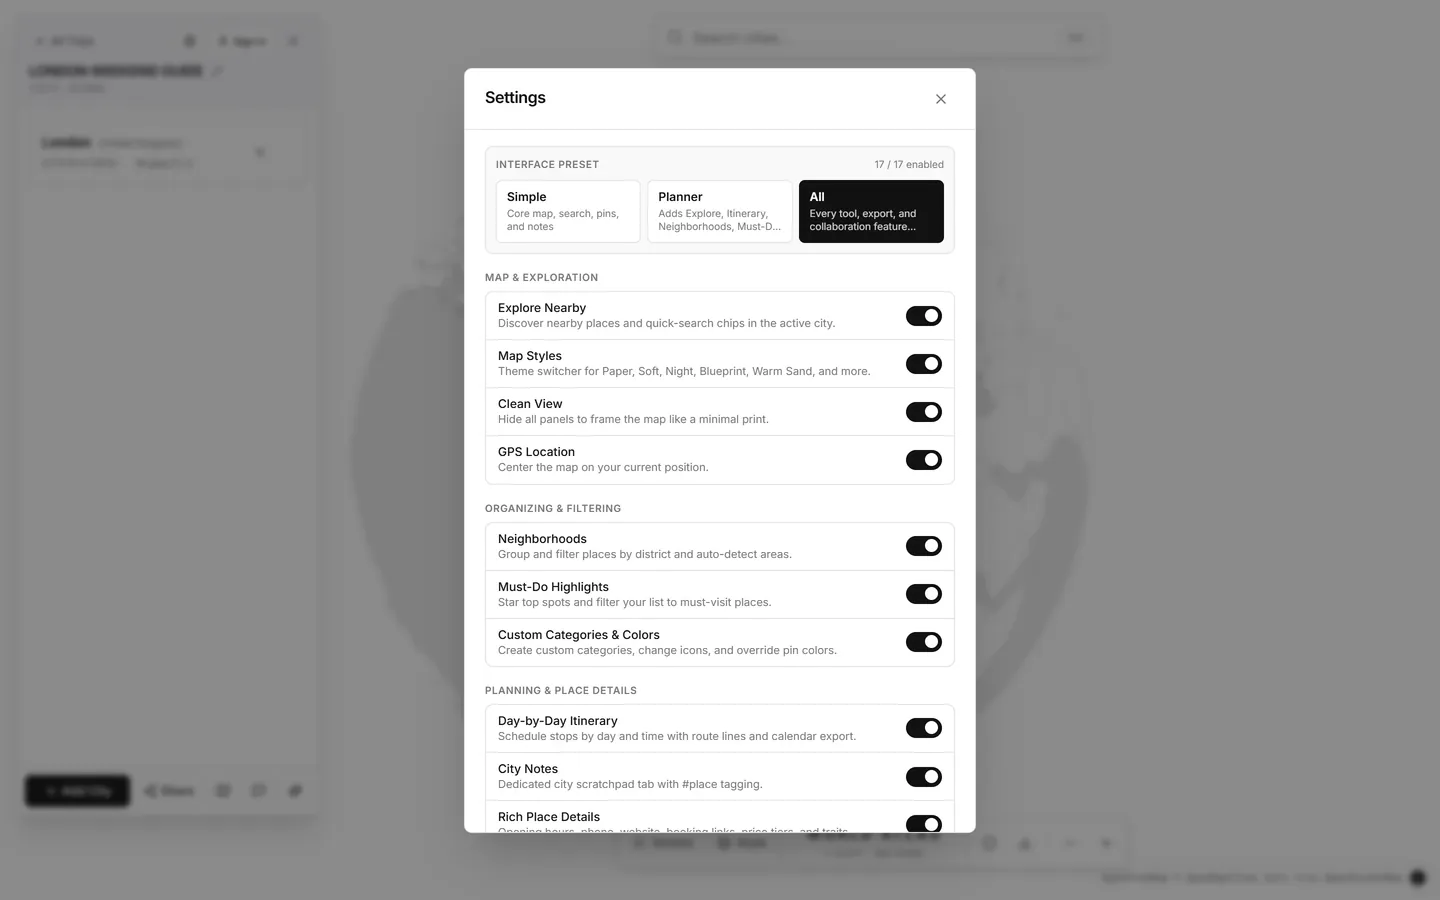
PlanCityTrips intentionally starts in the Simple preset—just the map, search, pins, and notes—so new trips feel calm. Whenever you want itineraries, neighborhoods, photo matching, sharing, or poster exports:
Click the Settings (gear) icon in the top header of the left sidebar.
Choose Simple (core), Planner (adds Explore, Itinerary, Neighborhoods, Must-Do, City Notes, Rich Details), or All (all 17 features). Turning a feature off hides it without deleting any saved data.
3. Trips, Cities, and Sample Guides
Click All Trips in the top-left breadcrumb to switch between trips, create a new trip, rename, or delete trips.
With Sample Guides enabled in Settings, click any starter edition inside All Trips—London Weekend Guide, Amsterdam Canal Edit, Tokyo Neighborhood Atlas, or Corfu Island Hopping—to explore pre-pinned neighborhoods.
Inside any trip, click Add City at the bottom of the sidebar, search any city worldwide, and press Enter to fly there.